Showing posts with label Baking. Show all posts

Friday, November 21, 2014


Cornucopia
The cornucopia (from Latin cornu copiae) or horn of plenty is a symbol of abundance and nourishment, commonly a large horn-shaped container overflowing with produce, flowers or nuts.


!Thanksgiving!
It is almost here & I am excited!
One has to make something grand.
For the table I made a cornucopia - this time I used greenery inside.
You could use anything from fruit, produce, flowers or nuts.
Detailed recipe can be found on the blog here.
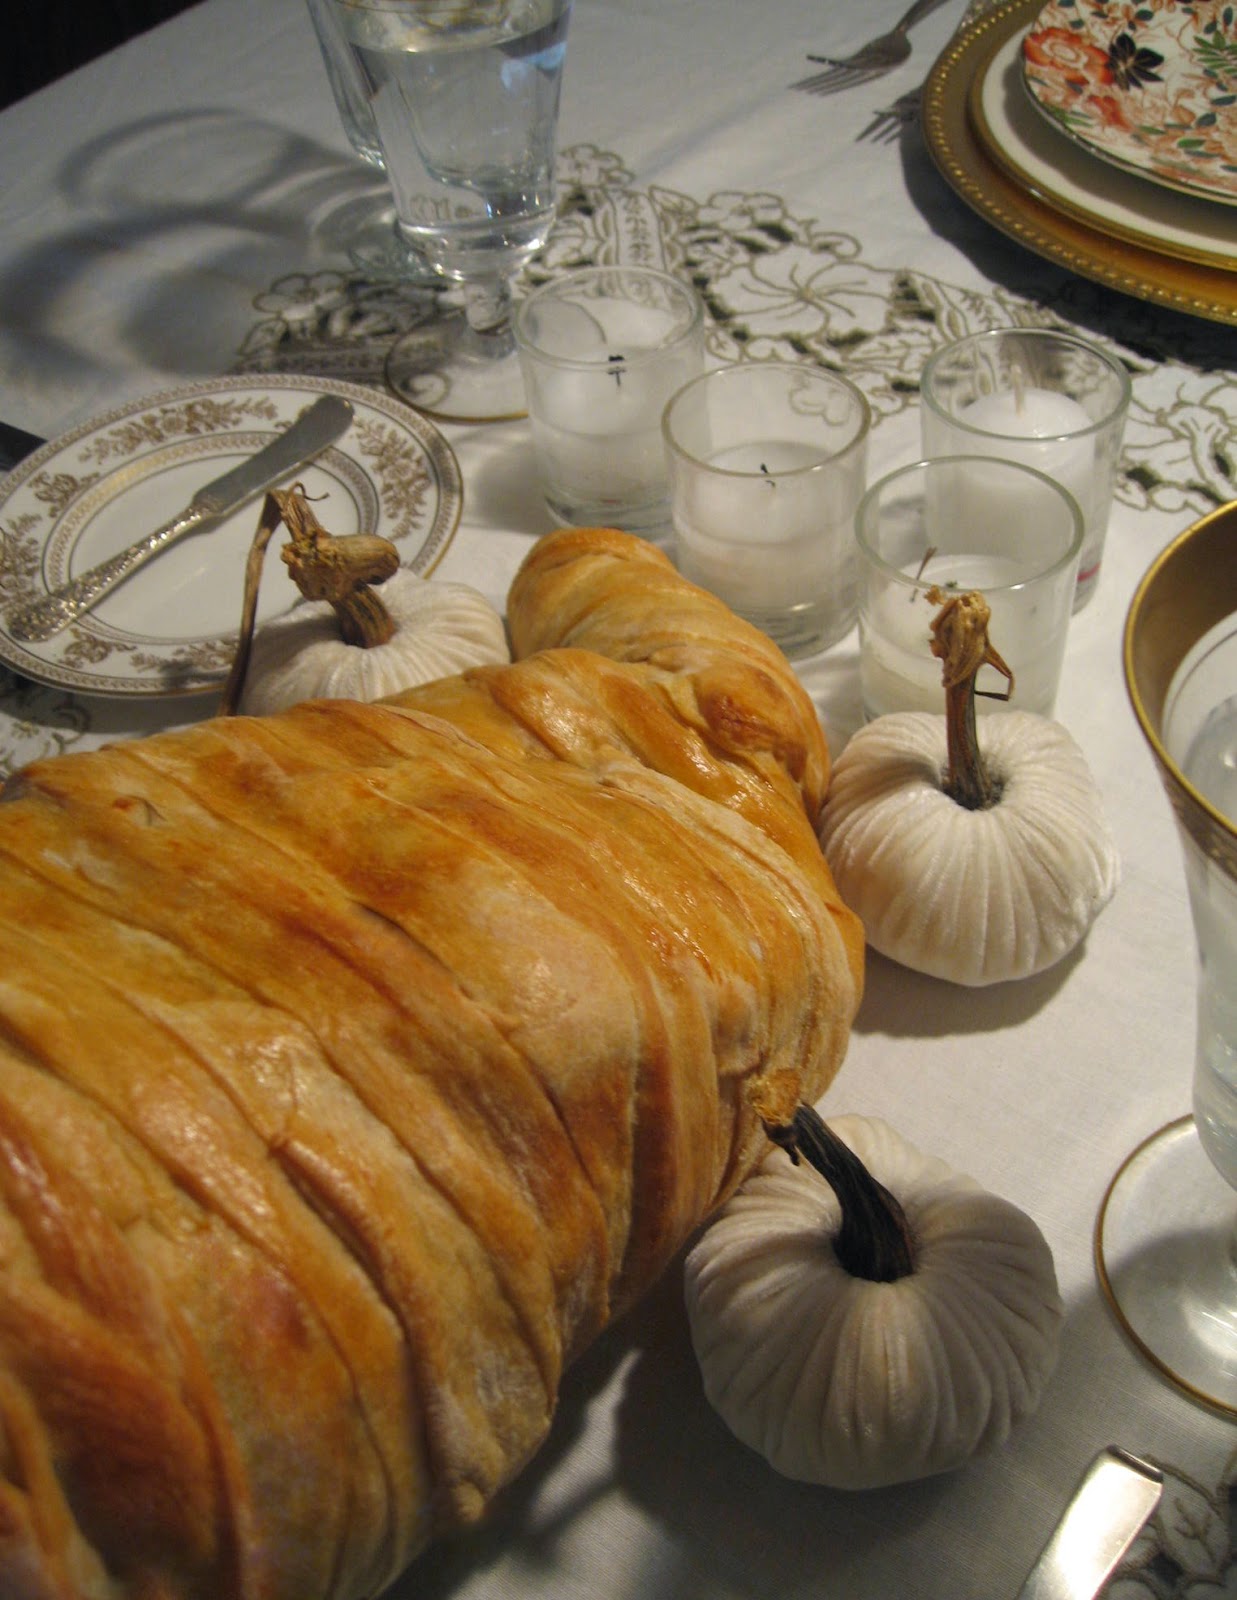


This is the cornucopia on the table.


Making the mold...with tinfoil.


Four layers of the tinfoil- you have to layer the pieces.


Store bought pizza dough.


I sprayed the mold with oil just like she said - her instructions are really great.
Braided the end and voila!


As it went in the oven!
I was hoping it will be a success. 


This is the table setting with greenery as the centerpiece.
Before the cornucopia came out of the oven.


Another picture of the just greenery.
The smell while it was cooking was divine.


Here is the cornucopia ready for Thanksgiving with the greenery.


The flowered plates were given to me by my good friend SB.


We are ready for Thanksgiving!
Dear readers, send me snap shots if you make the cornucopia.
Her instructions are easy to follow. 
I promise you, you will love it. 


Love,


Peggy


To see your vision come to life, email us about our design services at Peggy Braswell Design.


Friday, May 9, 2014

Candied Lemon Cake


Candied Lemon Cake
from Sweet Paul Magazine


These are the lemons I used for the cake.
I picked them from a tree.


You will need-

For the cake
1 stick of butter at room temperature
1 cup sugar
2 eggs
1 1/2 cups all purpose flour
1/4 teaspoon baking powder
1/4 teaspoon baking soda
1/2 teaspoon salt
1/2 cup whole milk
zest of one lemon
1 teaspoon vanilla

For the candied lemons
1 cup water
1⁄2 cup sugar
2 lemons, thinly sliced


1. Preheat oven to 350°F.  
 
2. Cream butter and sugar until light and fluffy, about 4 minutes. 

 3. Add eggs one at a time, mixing well between eggs. 

 4. Add remaining ingredients and mix well until incorporated. 

 5. Pour batter into a well-greased 9-inch cake tin. 

 6. Bake about 30 minutes until golden and toothpick inserted in center comes out clean. 

 7. Allow to cool on wire rack for 15 minutes then remove cake from pan and put onto serving plate. 

 8. For the candied lemons, Place water, sugar and lemons in a small saucepan and bring to boil.

 9. Simmer the mixture for 15 minutes and then allow to cool for at least a half hour. 

 10. Decorate the cake with the lemon slices 
 pour on some of the syrup just before serving. 


These are  ingredients you will need.


This is how it looks in the bowl before I turned it into the pan.


Here it is in the pan.
I cut parchment paper for the bottom, sprayed + floured.


 These are the candied lemon slices.


Here is the cake as I took it out of the pan.


Here are the lemon slices on top of the cake.


Here is how it looks before I cut into the cake.


 The above photo shows a piece of the cake with syrup!

Wouldn't this be a wonderful spring cake?
It was excellent!

Tell me about your spring cakes, dear readers.

I would love to have your recipes.


Love,


Peggy


To see your vision come to life, email us about our design services at Peggy Braswell Design.

Friday, February 7, 2014

Valentine's Day Ideas


Here are some of my favorite things for Valentine's day
from my Pinterest.


Aren't these matches cute?


Love all the paper...
I have never seen paper I liked - Love this!


A heart crust.
You can make these with a cookie cutter!


Spell out how much you care with scrabble game pieces!


A heart made out of pine cones.


From white to red, stunning!


Can you believe this is a thumb print?


Shows how to make a heart shaped cake!


Love this cake.


unknown


So clever!


unknown


Balloons for him/her at breakfast. 


unknown


How did they capture this one?


Adore this saying!


I could do this! 
(So could you!) 


unknown


 Isn't she cute?


So cute + easy to do.


A sponge cake for Valentine's.


Love this...with a candle inside.


Valentine's!
Tell me dear readers, which one is your favorite?


Love,


Peggy


To see your vision come to life, email us about our design services at Peggy Braswell Design.


Friday, February 8, 2013

DIY- Getting Ready For Valentine's Day


Here are some DIY projects for Valentine's day. There's a little bit of everything, cooking, crafts and some useful heart templates! Enjoy!


Blackberry Pistachio Napoleons

Active time 15 minutes
Total time 30 minutes plus cooling
Makes 2 servings


Don't these blackberries look delicious?


1/2 sheet frozen puff pastry
(6" by 12"), partially thawed
3/4 c. ricotta cheese
3 Tbsp. confectioners' sugar, plus more for dusting
1/4 tsp. vanilla extract
Pinch grated orange or lemon peel
1/4 c. roasted salted pistachios, shelled and chopped(save
some whole nuts for the final)
1/2 pt. blackberries


1. Preheat oven to 400°F. Line small cookie sheet with parchment paper.


2. Cut pastry into four 3" by 6" rectangles; place on prepared cookie sheet, spacing 2" apart. With fork, pierce pastry all over. Cover with another sheet parchment paper and small cookie sheet. Bake 15 minutes. Remove top cookie sheet and parchment paper. Bake 2 to 5 minutes or until golden brown. Cool completely on wire rack. Pastry can be kept uncovered at room temperature up to 3 hours.


3. While pastry bakes, in medium bowl, stir together ricotta, pistachios, 3 Tbsp. sugar, vanilla and orange or lemon peel; set aside. Ricotta mixture can be covered and refrigerated up to 1 hour ahead.


4. To assemble: Spread ricotta mixture on 2 rectangles pastry. Arrange blackberries in single layer on  ricotta mixture. Top with remaining 2 rectangles pastry. Dust tops with confectioners' sugar. 


I used lemons because I had them. You can also use oranges.


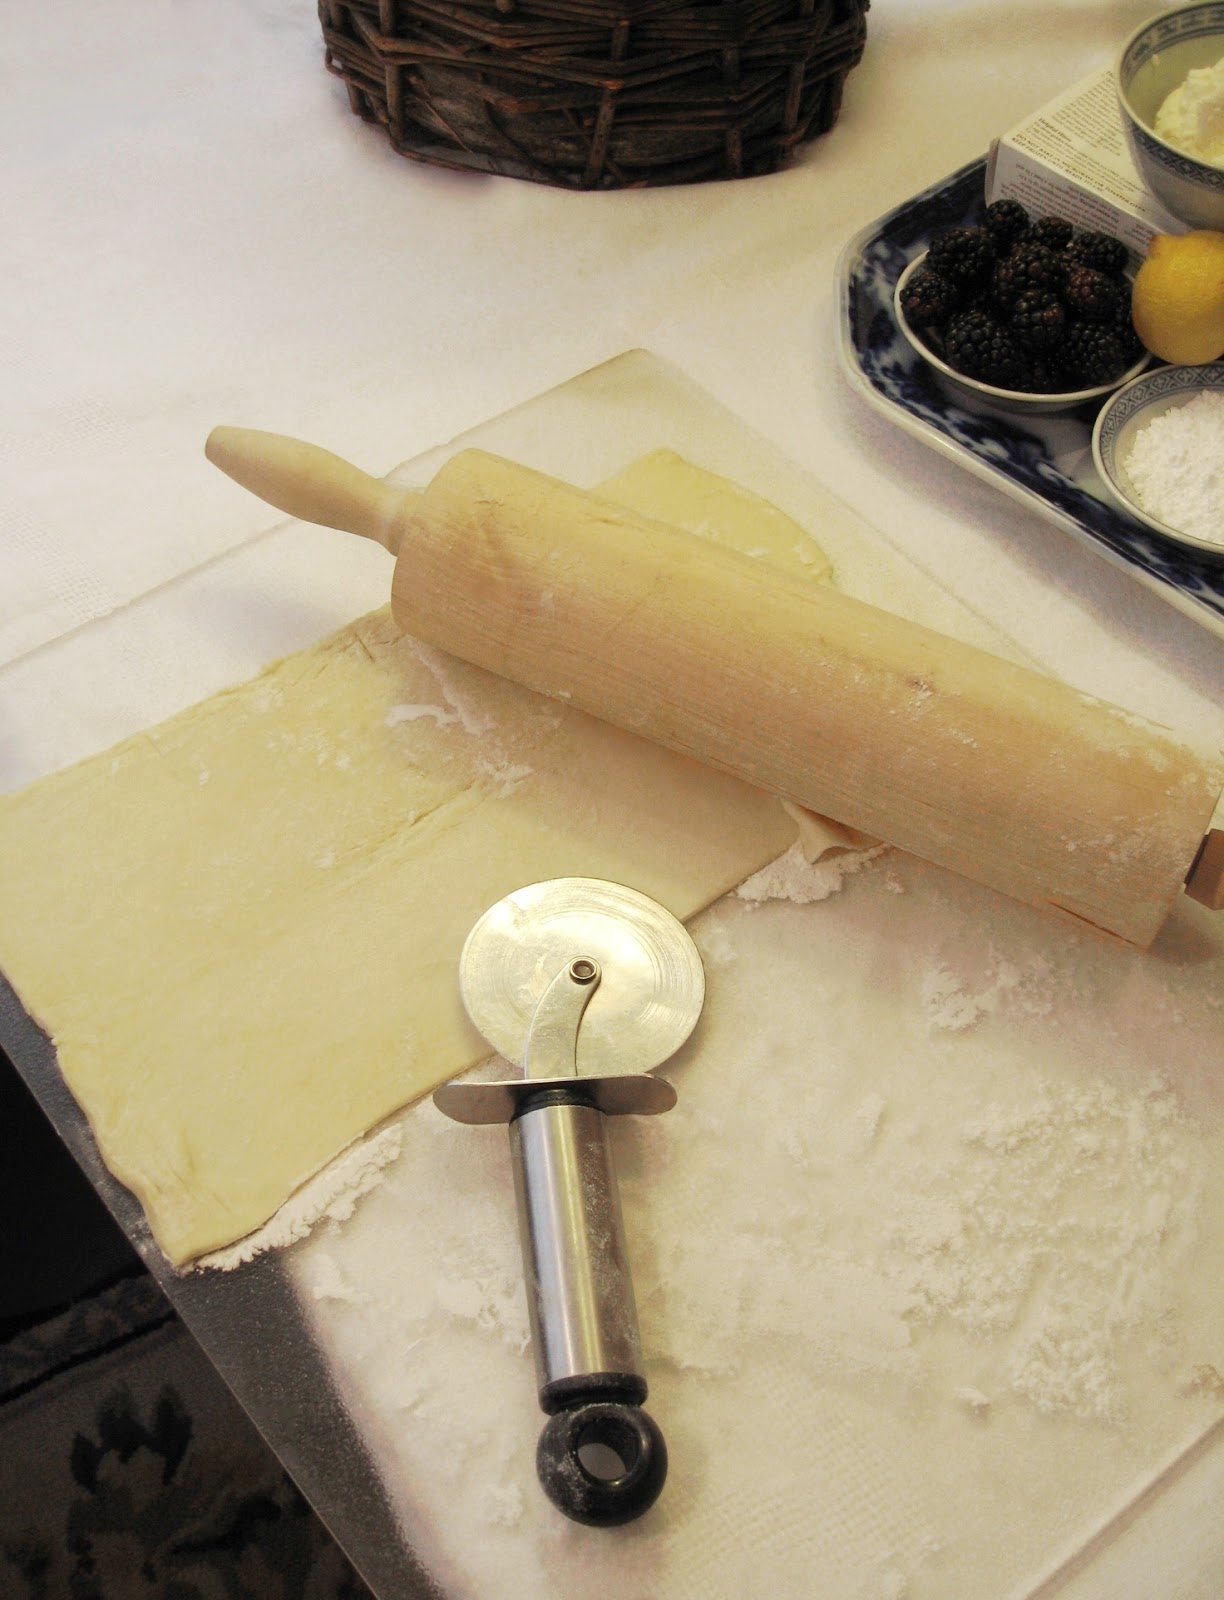
I use a pizza cutter to cut the puff pastry.


This is what the pastry looks like in the oven.


With lemon zest, ricotta, pistachios & sugar.


Here is the ricotta mixture.


All golden brown & ready to come out of the oven.


Ready to be spread.


Here they are ready to eat. They were really delicious!


YUMMY! Anything with puff pastry is grand (I think)...


DIY - Valentine's Rock + Folding Heart

Here is a previous Valentine's post I did. 
It shows how to make a Valentine's rock (like below) and a folding heart. 
Take a peek here.


One Valentine's Day, I sent these to all my friends. This is the one I made for my godfather. 
These are heavy to mail, I forgot about that!


One of my favorite Valentines involves using wax seal!


DIY - Gift Wrapping


Pile of  Valentine's Day gifts ready to be wrapped!


Why not use bow tie pasta for one of your packages?


 Print your own wrapping paper, use whatever suits you but make it special!


Use brooches on the top of the wrapping. It makes them much more intimate.
I got these at a flea market. Keep your eye peeled for good ones.


Use part of the gift on the outside.


I thought this zipper tape was so clever!


 Use bow tie pasta as a bow + use a page from an old book as wrapping paper.


Here they are ready for Heart Day :)


 Heart Templates

Here are some heart templates. I thought they might be helpful.


I adore Valentine's Day. Can you tell?

Dear readers, which one did you like best?
Let me know!


Love,


Peggy


To see your vision come to life, email us about our design services at Peggy Braswell Design.